


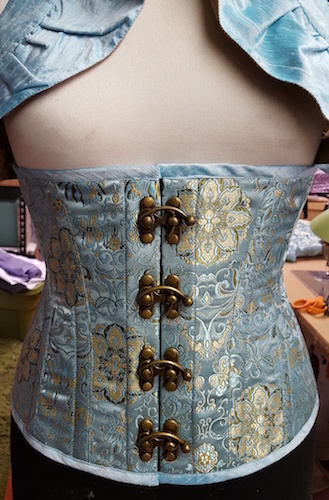
We’re so excited to be able to offer these Steampunk Swing Arm Busk Sets!
So many of you have asked about what boning to use, how to drill holes, what length rivets you’d need, and how to set them. Finally, it’s all in one place.
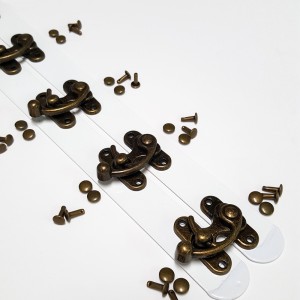
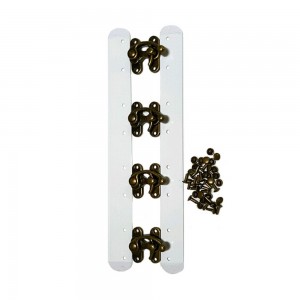
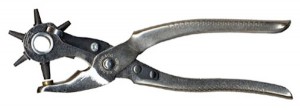
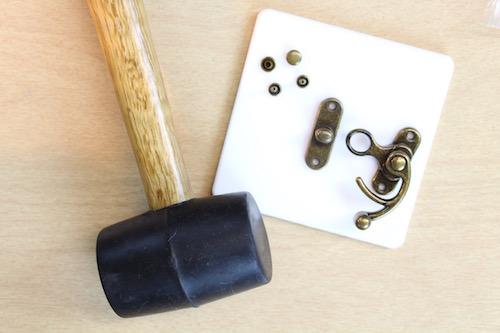
The 1″ wide boning is pre drilled to fit the clasps. We now offer the kits in 10″, 12″, and 13″ for most underbust and overbust corsets. The 10″ busks have 4 clasps, the 12″ and 13″ busks have 5 clasps. Each kit comes with enough rivets for each of the clasps. We suggest a Revolving Hole Punch to cut holes in your fabric or leather and a Rivet Setter is necessary to set the rivets.
Technique…
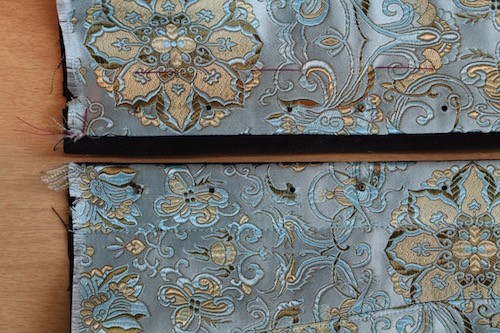
For the corset involved in this example, we used silk brocade as our face fabric and black corset coutil for our lining. The black bone casing is sewn to each seam allowance on the face. We’ve added a strip of 2″ wide black corset coutil under the brocade at center front to reinforce it against the boning and rivets. We also place strips of black corset coutil at center back to reinforce the fabric at the grommets for lacing. The face of the corset is sewn to the lining at center front and center back.
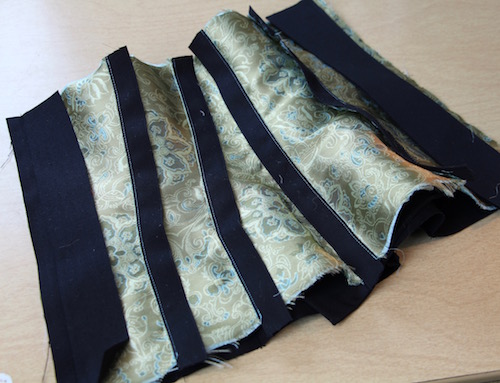
You should press the center front and back seams open to make sure it is nice and flat. We also pin the layers together to keep them from moving. Make sure the size busk you choose has enough room at top and bottom to finish with either bias tape or some other trim tape. We leave 1/2″ to 5/8″ space at top and bottom for bias tape.
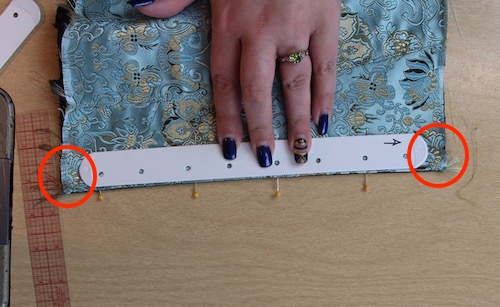
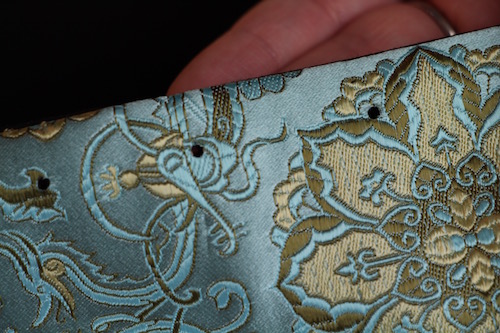
Place the boning with the holes closest to the CF edge evenly spaced top and bottom. When the busk boning is inserted in between the layers of fabric, it doesn’t go all the way to the seam, it probably sits back about 1/8″ or a little less.
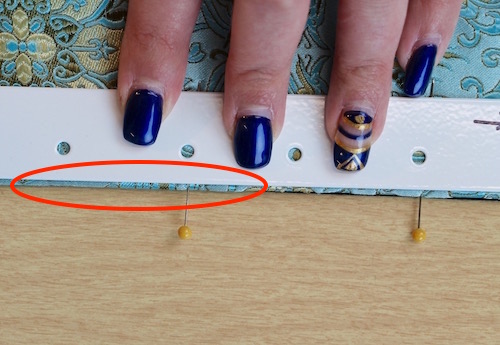
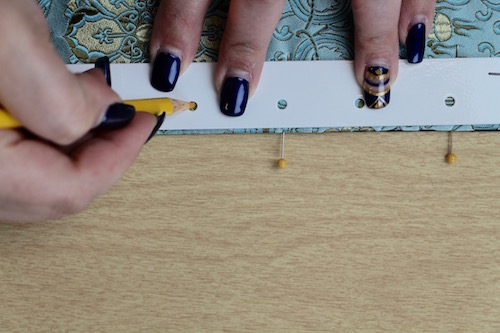
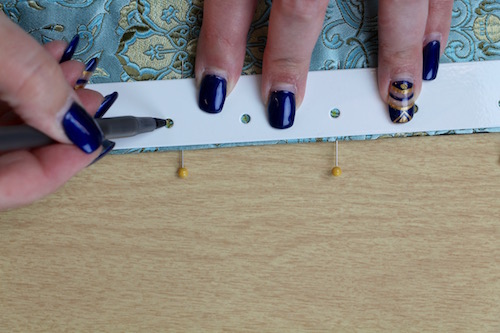
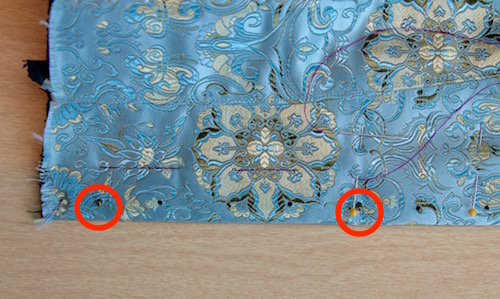
Make sure the right and left sides are lined up to match, and mark the holes with a pen, pencil, chalk pencil, or pin.
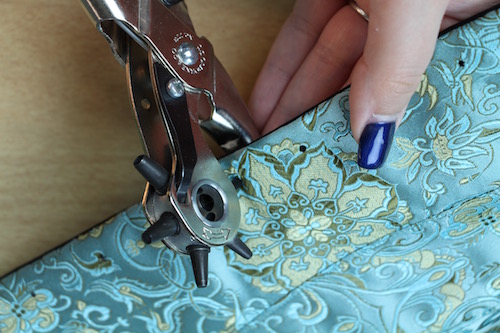
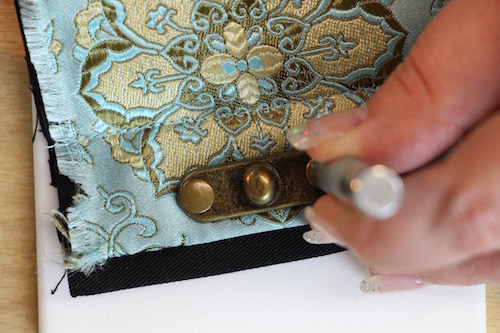
For making the holes, we found it is easiest to use a Revolving Hole Punch. Test the hole size on a test fabric first, you want the hole as close to the same size as the post as possible, probably just a bit smaller than the hole that is drilled in the boning. Cut all of your holes, then put the boning in between the layers and pin in place. Make sure you line up the holes you cut with the holes in the boning.
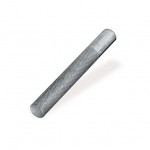
You can also use a CorsetMakers Awl, it will just take more time to separate the weave of the fabric to get the rivet post through.
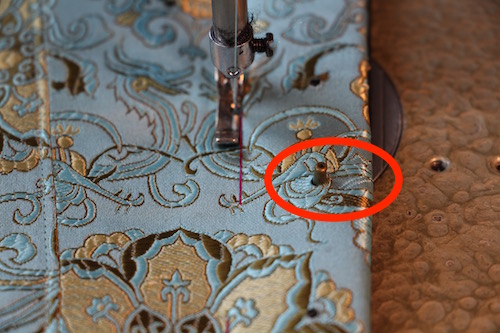
We found that putting (not setting) a rivet post or three (top, middle, bottom) into the holes while sewing helps keep your fabric from moving while topstitching. It’s easier to keep the holes in the busk lined up with the holes in the fabric that way.
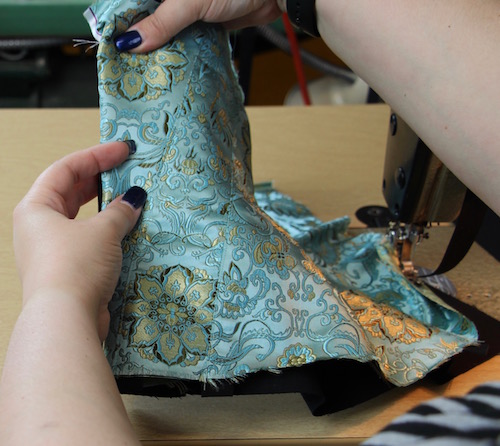
Hand tack the boning in place so your face fabric doesn’t move or warp while topstitching.

Topstitch the boning in place using a zipper foot. You can see the post of the rivet sticking out of the fabric while it is being topstitched below.
Topstitch both sides. Remove the basting stitches.
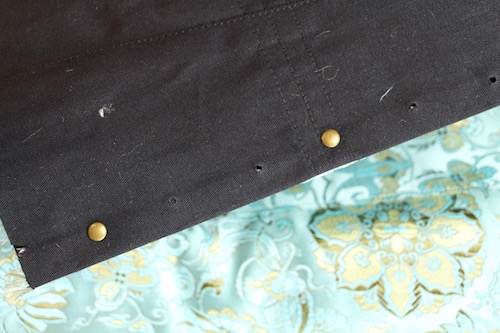
Setting the rivets: Insert the post of the rivet from the lining side up through the boning and face fabric, I’d recommend inserting both rivets for one clasp at the same time so that you are sure you are lining up the proper top and bottom spacing.
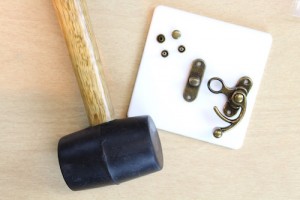

Place the top or cap of the rivet on the post. You’ll need to put the bottom post of the rivet on a Crafting Board or rivet Anvil to set it.
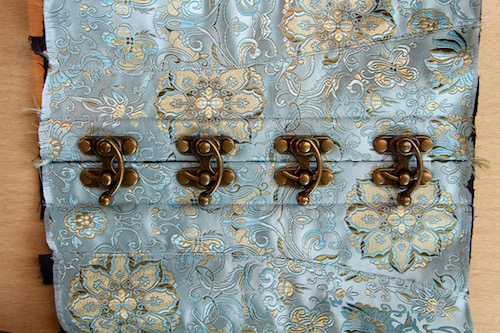
Place the Rivet Setter on the top of the rivet and hit it with a Rubber Mallet or wooden mallet. Start lightly, if you pound it too hard you can damage the rivet. When you are sure it is set, move on to the second rivet holding the clasp down. Continue in the same manner until all of your clasps are set.

Finish the rest of your corset as you normally would, topstitch bone casings, center back seam if you haven’t sewn it yet,finishing top and bottom edges, and boning and grommets at center back. (For reference, this is the 10″ Steampunk Swing Arm Busk Set with the 4 clasps, the 12″ and the 13″ have 5 clasps.)
Admire your work!
~Happy Corseting, Amy


Wouldn’t an awl be better than punch holes? That way you wouldn’t be cutting any threads, risking raveling, or weakening your fabric.
Thanks for taking the time to add your comment. An awl works great in certain applications like the posts for a busk. You can separate the fibers as wide as you need and they will tighten back around the post. An awl isn’t good for larger holes like grommets, if the fibers have to push too far out the face of the garment tends to warp and not lay flat.
In the case of the rivets for the swing arm busk… The holes aren’t very large, so you could use either a punch or an awl. Using a punch is easier, and doesn’t weaken the garment, due to the rivets and boning. There isn’t an overload of tension on each of the holes where each rivet is located since the rivets go thru the boning, and the boning is topstitched along the edge. The tension of the corset’s tightness is evenly distributed in the seam and very little is on the location of the rivet. (And therefore the holes in the garment)
In the case of the posts on a busk, the eye side is always in contact with the fibers around the post. If you punch a hole, the movement of opening and closing will damage the garment more.
Thanks,
Amy
Thank you
I’m just beginning to research the making of corsets. Thank you for this very informative tutorial!