


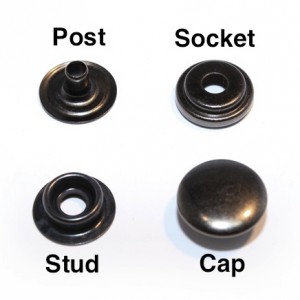
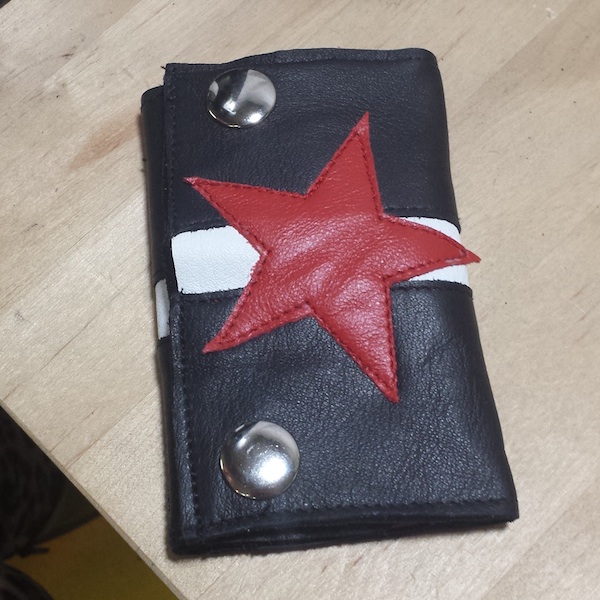
Snaps have 4 parts. The first piece is the Post that is flat with a narrow tube sticking up. This will be the back on the wrong side of the fabric or garment. The Stud attaches to the Post. The Cap is the decorative visible portion of the snap and it attaches to the Socket.
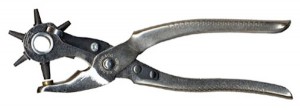
There are a few different types of snap setters: Snap Setting Pliers, a Snap Setter Kit that requires a Rubber Mallet, a three piece Die Set* for a Hand Press (for Size 20 snaps) and a four piece Die Set for a Hand Press (for Size 24 snaps.) The Hand Press method is the one we use, so that’s the one I have instructions for below.
When using The Hand Press with a four piece Die Set these are the pieces:

To Set the Cap and Socket in the Hand Press:
The Base Die for the Cap is placed in the bottom hole of the Hand Press and tightened with the allen wrench. The Top Die for the Socket is screwed onto the top portion of the Hand Press, you may need to adjust how low or high you screw it on, depending on the thickness of the fabric or leather you are using. Always do a test snap first.

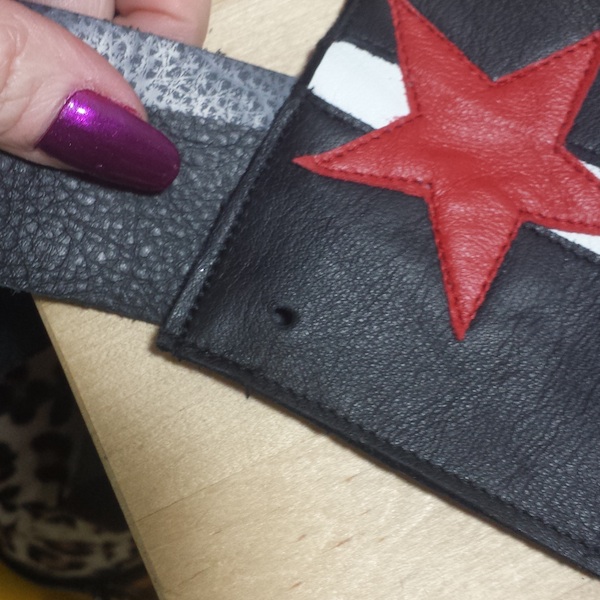
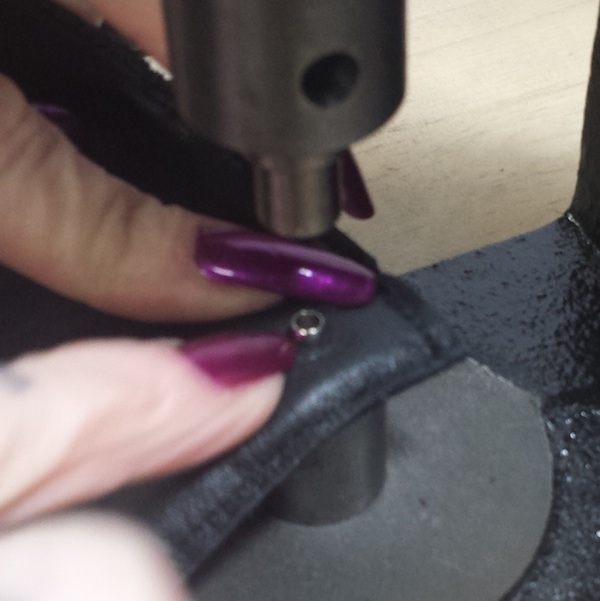
You need to make a small hole in the fabric/leather with an Awl or a Leather Punch to insert the snap.
I love the Leather Punch, I set it at ‘3’ and it cuts a perfect hole for the size 24 Snaps. I always put a scrap piece of leather down under the fabrics I intend to cut through, it cuts a much cleaner hole.

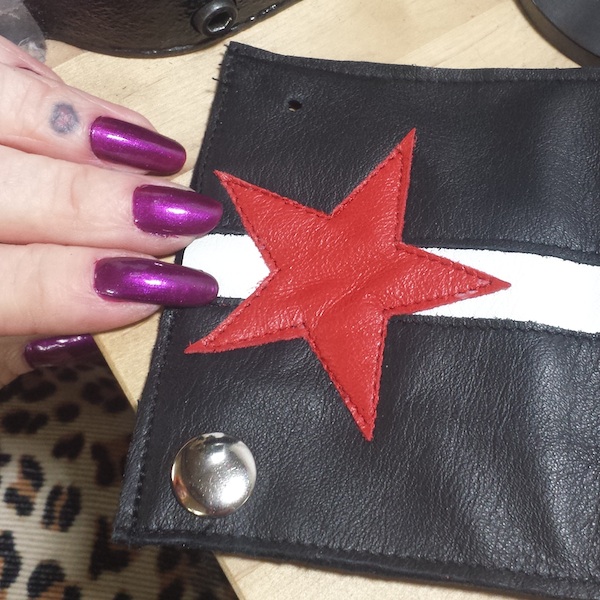
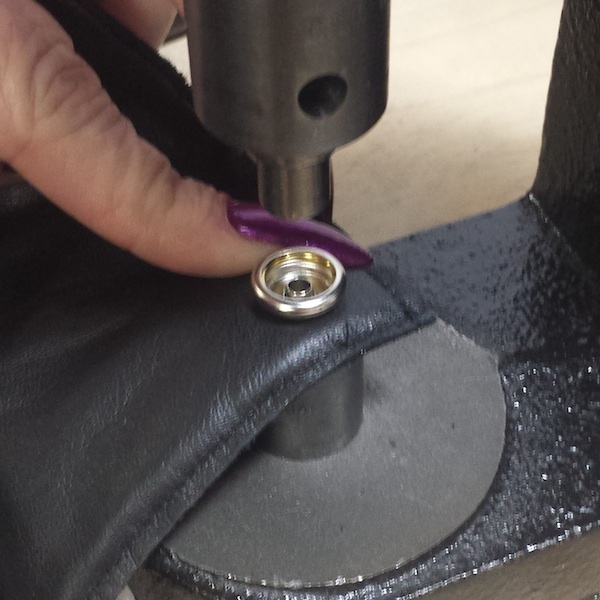
Place the Cap through the hole in your garment from the right side and flip it over onto the Cap Die, then place the Socket on top. Bring the arm of the press down making sure that the Socket Die lines up with the center of the Cap so that it crimps evenly.
To set the Post and Stud using the Hand Press:
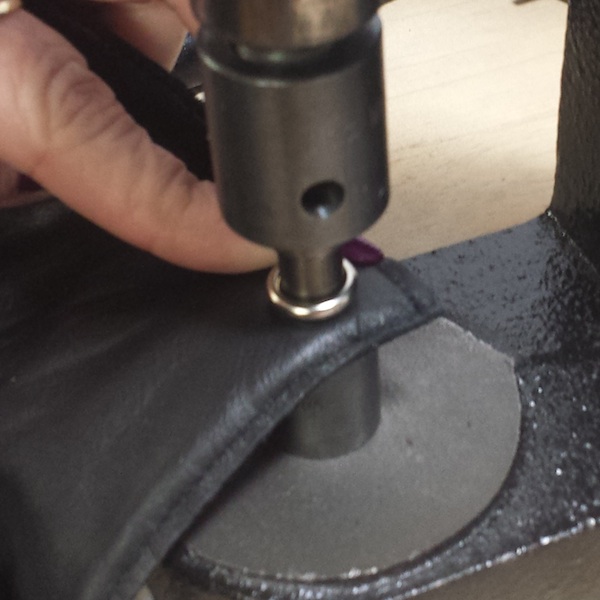
The Base Die for the Post is placed in the bottom hole in the Hand Press and tightened with the allen wrench. The Top Die for the Stud is screwed onto the top portion of the Hand Press, again,you may need to adjust how low or high you screw it on, depending on the thickness of the fabric or leather you are using. It’s always good to do a test first.
You need to make a small hole in the fabric/leather with an awl to insert the Post.
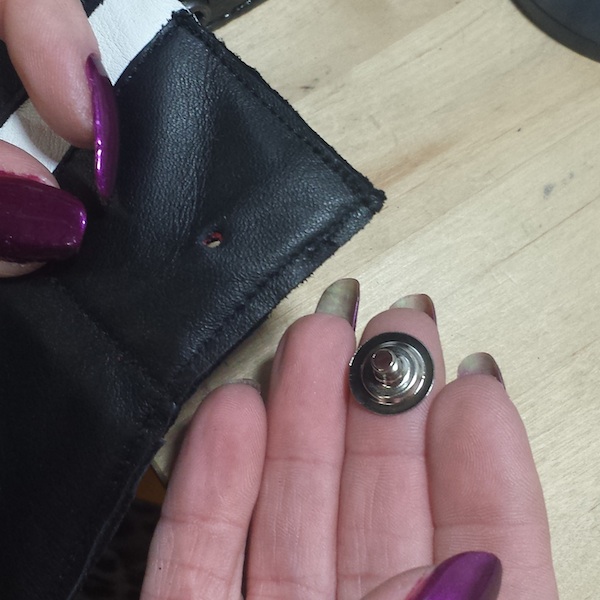


Place the Post through the fabric or leather hole you made and then put it onto the Post Die, place the Stud down next. Bring the arm of the press down making sure that the Stud Die lines up with the center of the Post so that it crimps evenly.
Tips: Set all of the one side first, meaning, once you have the dies set to set the caps, set all of the caps you intend to set. Do a test first, then set them all. When you change the dies, do another test and make sure the test snaps -snap together and apart correctly. Then set all of the opposite sides.
~Make sure the crimp is tight enough, if not it will stand up too high and not allow the snap to close. Don’t over crimp or you can damage the Stud, Socket, or Cap.
~Snaps are tight at first, they take a few snappings-un-snappings to start off.
~Reinforce your fabric before setting snaps! Use a circle or square of fusible interfacing on each of the fabrics at the location of the snap. Put an extra piece of thicker fabric, felt, or leather in-between to stabilize the snap.
*To use the Three Piece Die Set for the Hand Press, the same Base is used for the Post and the Cap.
~Happy Snapping, Amy Delicious


